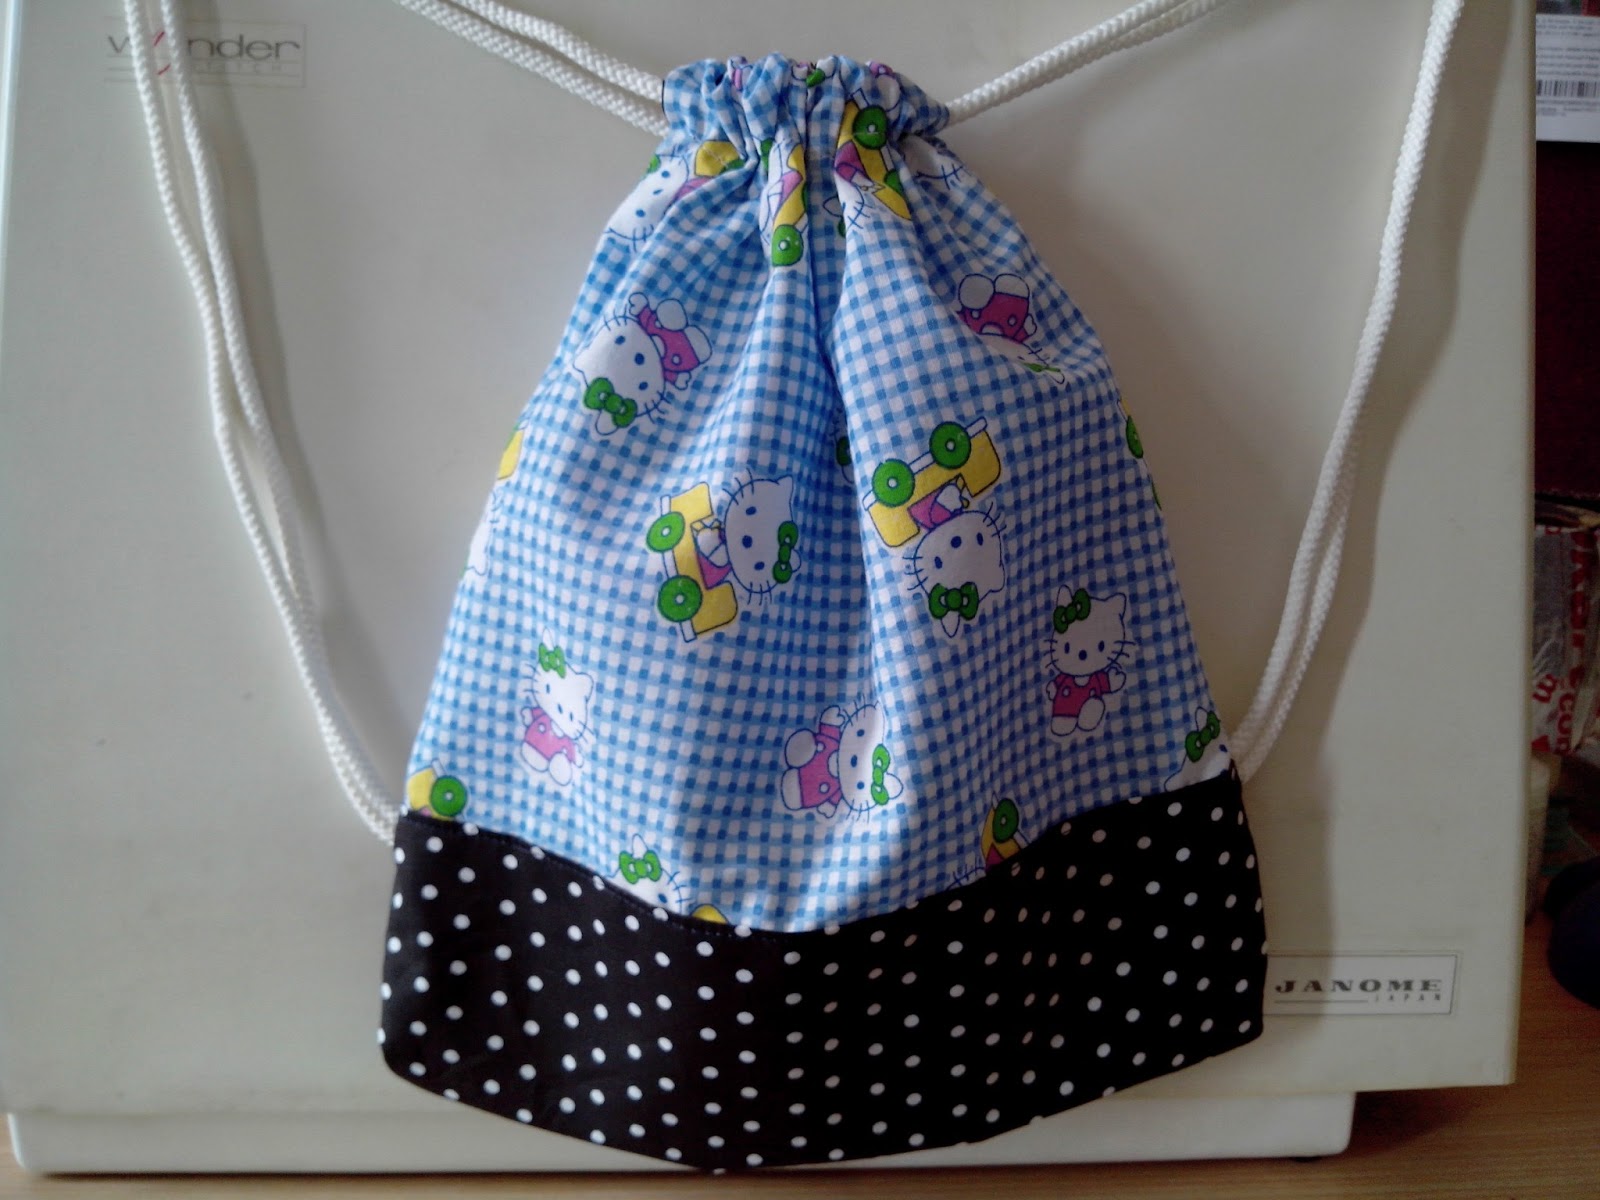
The covers of my two bolster pillows had to be retired long back. The only reason I hung on to them was because I wanted to stitch my own covers rather than get ready made ones. Finally I get enough time to stitch the covers and here I have two brand new covers which give a new life to my pillows.


These were the simplest that I could come
up as they were the first ones I was trying out. With the minimum material
required the pillows have transformed from old and faded to bright and
colourful. If you want to make it this is how you go about it. The measurements
as per my pillow size which was 27 inches round and 32 inches long. You may
need to alter it as per your pillow size.

You need:
Printed fabric – 20X30 inches
Plain fabric – 7.5X30 inches (2 pieces)
Matching thread
Laces – 40 inches approximately (2 pieces)
Make it:
Align the 30 inch edges of the plain fabric
and printed fabric with wrong sides together. Both plain fabrics should be
aligned on both ends as these will form the sides of the cover. Pin them in
place. Leaving less than a ½ inch space
stitch both the sides. This is an optional step that I did to give the cover
the clean look from the inside.

Turn the fabric over to get the right sides
together. Press along the stitch to make a firm mark and fold.

Leave ½ inch of space and stich keeping
right sides together. If you do not want
to go into so many steps you can simple place the right sides together in the
first step itself and stitch leaving half and inch space.
Now fold along the four corners lengthwise.
The fold should be just about a little over half a centimetre. Run a stitch
along all these folds.

Make a slot along the open end of the
plain fabric to allow the lace to go
through. To do this fold half a centimetre of the material and once again fold
over keeping just about an inch. To make
stitching this part easy it would be a good idea to press all along.
Stitch on both sides.

All that remains is to give the cover its
basic shape. Join the two length sides of fabric. Once again to give it a clean
finish on the inside stitch along the length with wrong sides together.

Turn
the cover inside out to get the wrong side toward you. Press along the stitch
and keeping a space of around an inch. Turn right side out.
Insert the lace into the slots and pull the
cover over the bolsters.

There you have a new looking boster.